scale(1.3637)'%3E%3Cg clip-path='url(%23cb)'%3E%3Crect x='0' y='0' width='1024' height='1024' fill='url(%23pg)'%3E%3C/rect%3E%3Cg clip-path='url(%23cf)'%3E%3Crect x='0' y='0' width='1024' height='1024' fill='url(%23fg)'%3E%3C/rect%3E%3C/g%3E%3C/g%3E%3C/g%3E%3C/svg%3E)
Rotation, hiding and clipping in 3D projects3D views and clipping
Point clouds and meshes open as they are, with views, styling, hidden parts and clipping, and the same object goes into your paper.Models opened as they are, clipped and embedded.
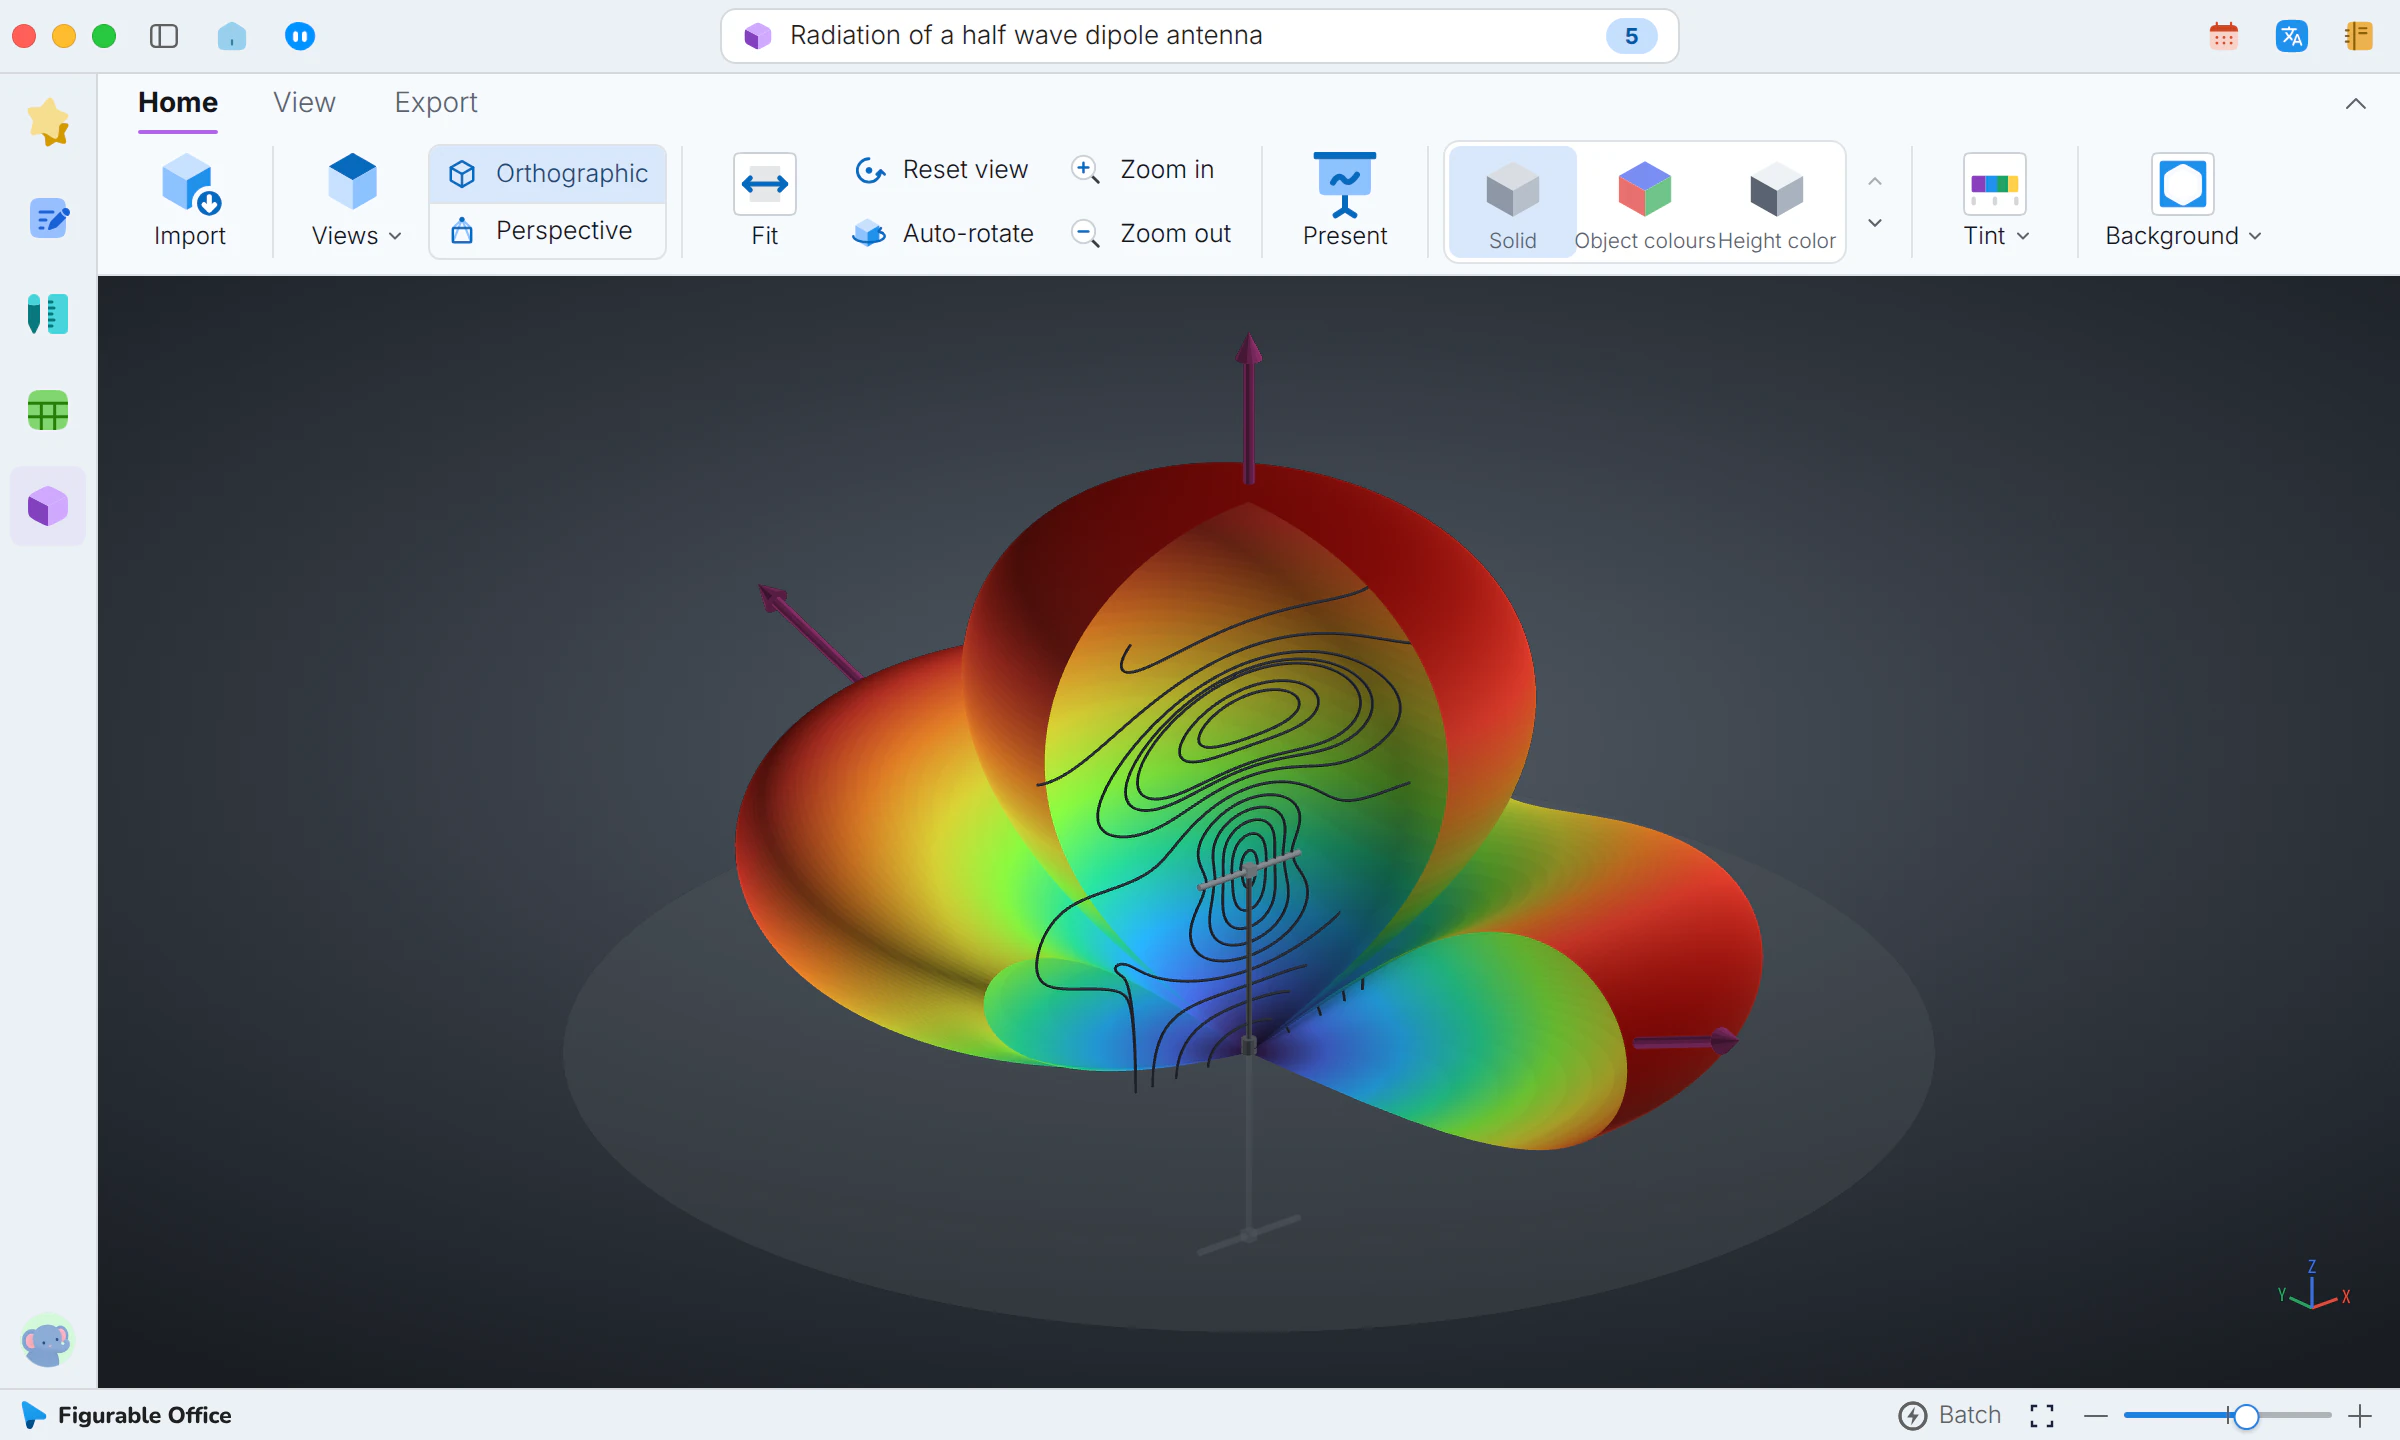
The 3D workspace opens common point-cloud and mesh files directly, with no conversion first.
When it helps
A simulation finishes and leaves a mesh file. Looking inside it means installing a dedicated viewer and converting the format first. Collaborators see only a few screenshots from fixed angles.
- A point cloud or mesh file to inspect
- A model you want to see inside or partly hide
- A sharp image from a chosen viewpoint
In this guide
Model files and views
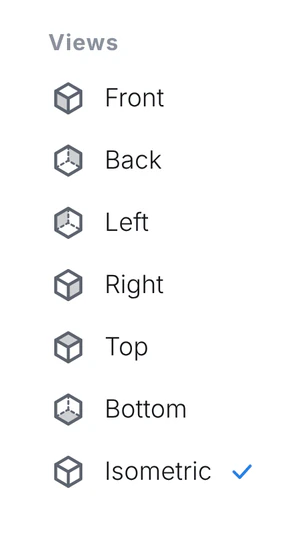
Click Import on the Home tab or drag a file into the viewport. OBJ, glTF, STL, PLY and point clouds open directly. Views offers front, back, left, right, top, bottom and isometric. Orthographic and Perspective switch the projection, and Fit fills the viewport.
Styles, colormaps and object visibility
The gallery offers solid, object colors, height coloring, clay and wireframe. With value-based coloring, Colormap switches the palette. Click Scene objects on the View tab. Each object has a swatch, and clicking its row hides or shows it. Exported images match the viewport.
Clipping
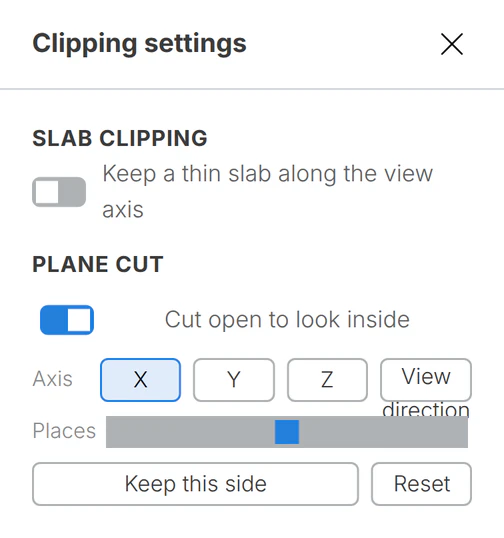
Slice keeps a thin slab along the line of sight. Clipping settings adds a plane cut along X, Y, Z or the view, with a position and a side to keep.
Saved views and side-by-side comparison
Save View stores the angle and Saved Views returns to it. Compare shows several rendering styles side by side, and Link views above the grid turns them together.
Image export
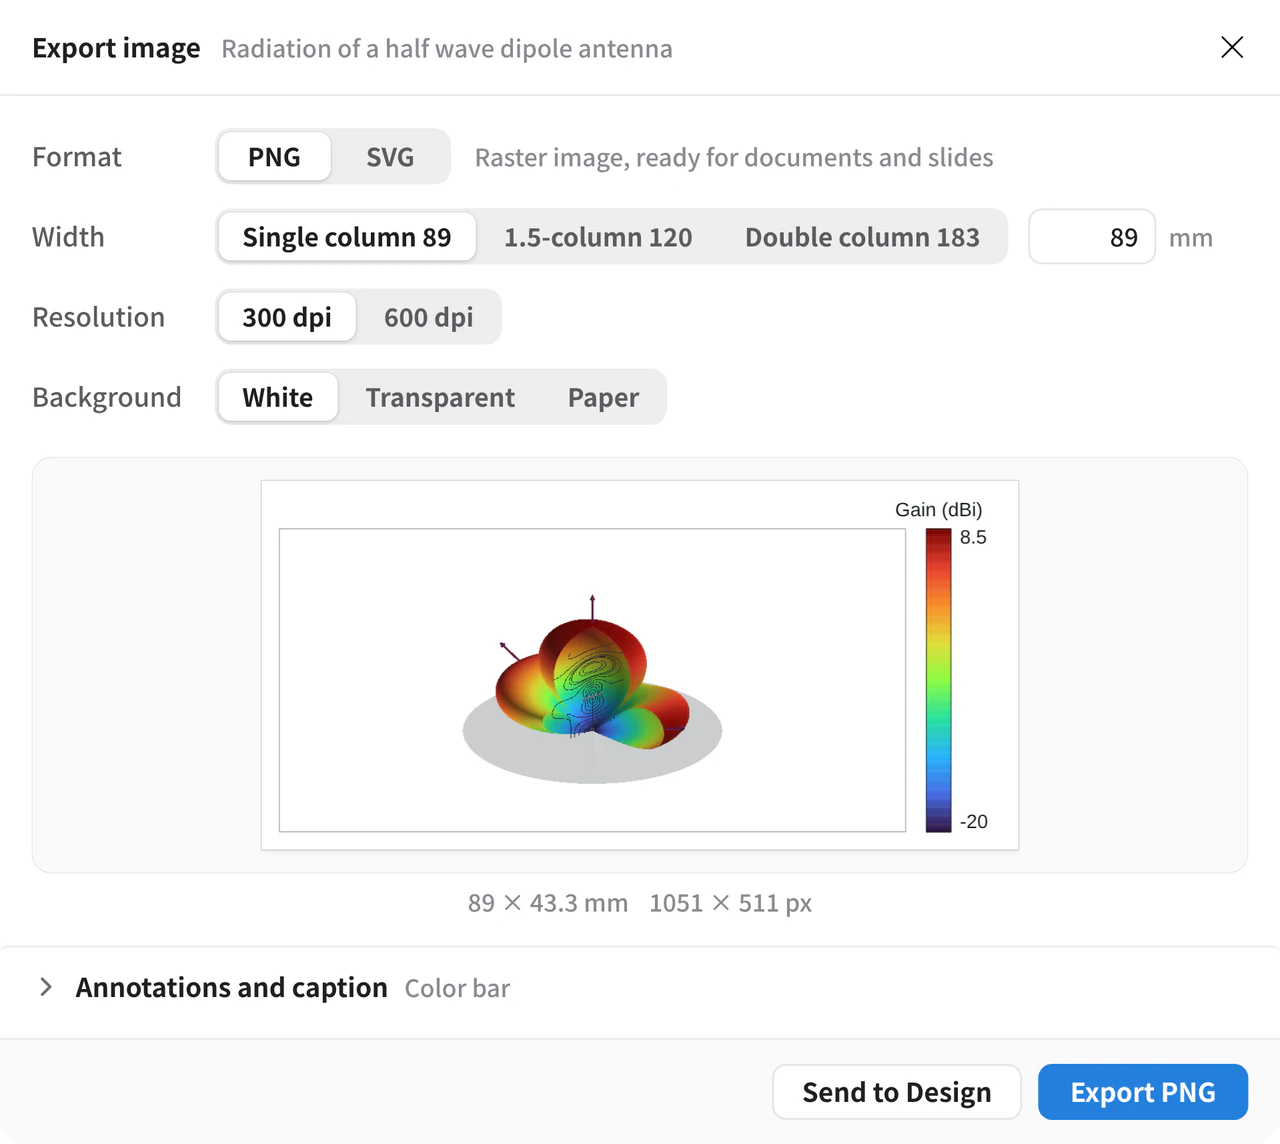
Export Image has three width presets, 89, 120 and 183 mm, or your own. Then choose the DPI and a white, transparent or paper background.
What you get
The model opens directly, can be rotated, partly hidden and sectioned, and exports an image from the view you choose.